Last week I had to create a gamplay video for Network Traders in order to participate in a video games contest. I used to do some video editing before, but it’s been a while and I rarely did screen capturing before. So I had some special requirements and had to start looking for the right tools. This is what I came up with.

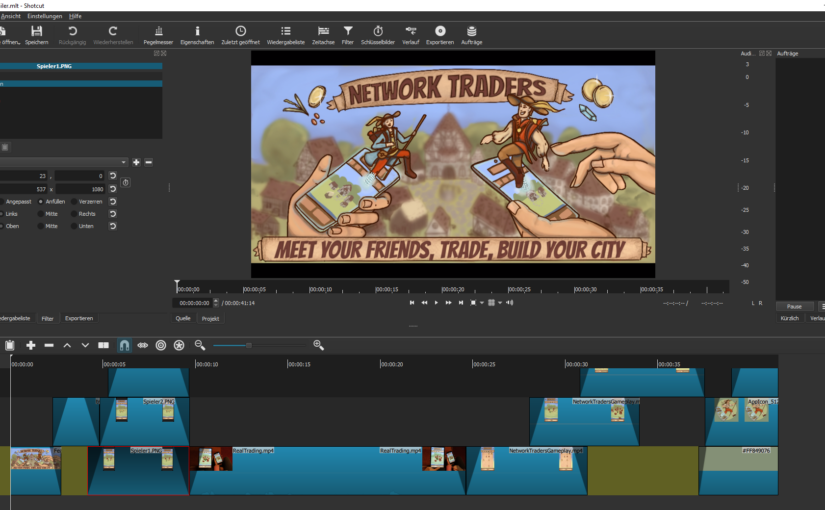
In order to create gameplay videos, you basically need two different kinds of tools. A video editing tool and a screen capturing tool. The first one is pretty straigt-forward: use Shotcut. Shotcut is a free and open-source video editor which is easy to use and provides various basic filters. More than enough for your first steps in video editing. Most important for me was that you can create videos in any aspect ratio. Besides a video in a standard format, such as HD or UHD, I also wanted to do a portrait format video for Youtube Shorts. This makes sense if your game is played in portrait mode. Not every video editor is capable of that, but Shotcut does it without complaining.
Just one note of caution: Shotcut may crash! I once lost 45 minutes of work because it was suddenly gone, without a recovery point. So save regularly, and if the timeline starts to look weird in some way, restart the tool to be on the safe side!
Screen Capturing
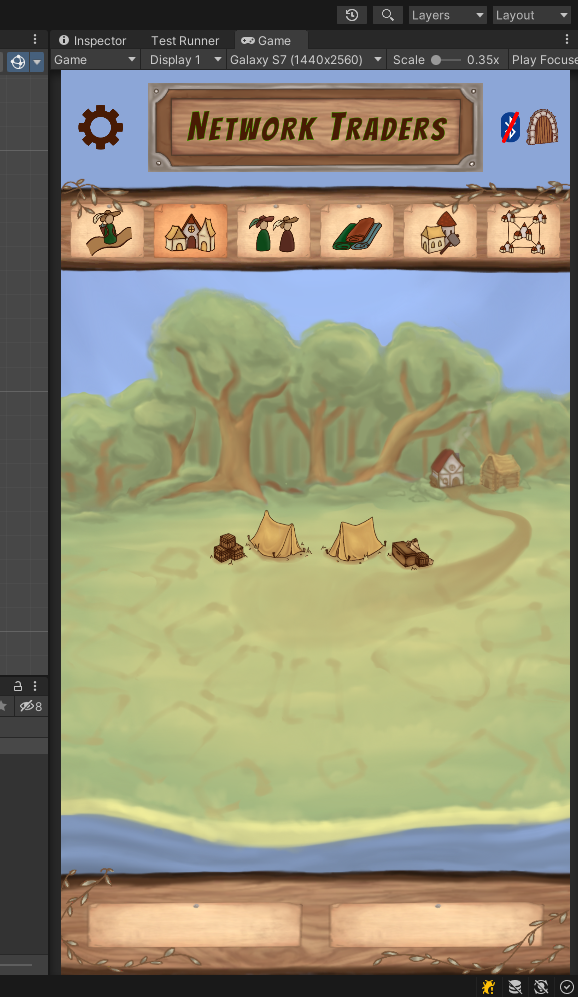
The right screen capturing tool was not as easily selected. I had four requirements, as I wanted to grab the footage for my video from the Unity editor.
- It is possible to capture any rectangle on the screen with arbitrary aspect ratios.
- The mouse pointer can be hidden and is not visible in the captured video.
- The tool is free to use.
- There is no watermark in the video.
I looked at a few alternatives before I finally found a good solution. This is a list of the ones I tried but was not happy with:
- XBox Game Bar: already built into Windows 10 and higher, it can be opened using Windows+g. While easy to access, it only features full-screen video capturing.
- Ezvid: could, in theory, capture an arbitrary rectangle of the screen, but in the free version the size is increased to that of the front credits snippet added automatically. But anyway, there is no way to hide the mouse pointer.
- Icecream Screen Recorder: also features a free version, but although it could capture arbitrary areas of the screen and hide the mouse pointer, it adds a watermark to the whole video.
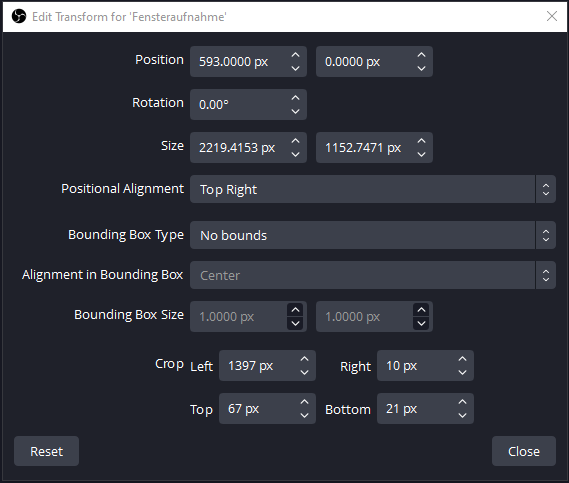
And finally, I came across OBS Studio again, which I had used years before already and completely forgotten about. The “Open Broadcaster Software” is open source and capable of all I needed. However, the settings may be somewhat difficult to find, as not everything has a convenient, interactive user interface. So, e.g., if you want to select a rectangle for recording, you need to first select you source (the window recording), then open the “Edit Transform” window shown below. Here you can manually set the dimensions for your video, and some additional parameters.

The Result
With all the searching for the right tools I was quite busy for four or five evenings. But for an amateur, I am quite happy with the results, and I do not want to withhold them from you. So have a look at my Youtube Shorts video below, which is one of the two videos I created.
What do you think about it? Which tools do you use for video capturing and editing? What commercial tools are better and how much more do they cost?
The next thing I have to check out is where to find suitable music and audio clips for these videos. If you have any suggestions about that, please leave a comment. Or join the discussion on Mastodon!

